DIY Floating Shelf - Free Plans - Rogue Engineer for Dummies


85 Ideas To Build Your Own DIY Floating Shelves - Its for Dummies
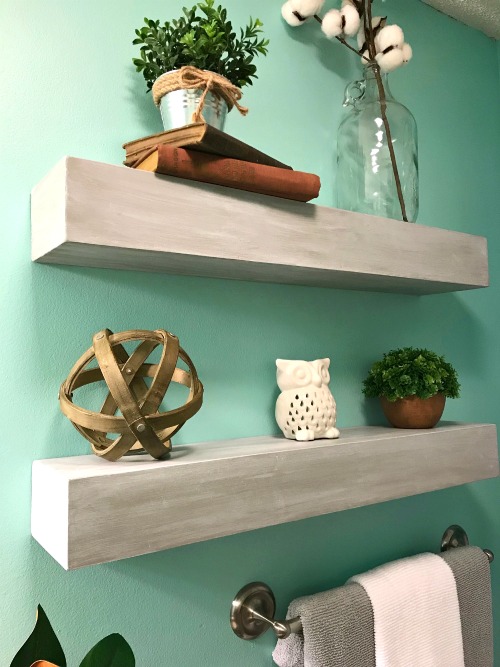
TIP: the basic width in between a counter top and shelf/cabinet is 18-22. Did you know you can hang drifting racks without assistance?! Merely screw in your shelf frame at the center, but don't screw it in all the method. Grab your level and screw in on among the far sides, then tighten up the screw in the center.

I utilized some left over wood professional shims since my walls are not even and the frame did not satisfy up at a 90 degree angle. Now that both of your rack brackets are up you can frame out the floating shelves! The brackets will feel a little unstable, however as soon as they are framed out they are solid.

DIY Floating Shelf Pictures and Images — Sheppard Brackets - Floating Shelf Brackets
Things about Simple DIY Floating Shelves (Floating Shelf Tutorial) - Love
Place your top 12 x 69 3/4 pieces on top of the brackets and protect with wood glue and brad nails. There will be an overhang when you put the top piece on the brackets, that's expect to be there! Do not worry. To attach the bottom portion usage secures and shoot a couple of brad nails into the back of the bracket so you have the ability to attach the entire bottom piece without it falling or snapping in half.
DIY floating shelves using real, solid wood - Home like you mean it
Use wood glue and clamps to attach the front completing piece with brad nails into the bracket and on the top and bottom of the rack. Complete the bottom shelf before the top one initially, you'll be able to utilize it to hold all your supplies! Repeat This Site provided for the very first shelf.
The Only Guide to DIY Faux Floating Shelves - Within the Grove
If you choose to stain yours, make sure to utilize DAP Stainable Plastic Wood Filler. If not, you'll be able to see all the holes you filled. I finished with two coats of paint and sanded in between coats so a smooth surface. If you're a fan of open shelving, we installed some in our kitchen for $20! The Reveal You prepared to see how these babies ended up ?! If you wish to see how make your own do it yourself Dry Bar you can have a look at the complete tutorial here! ** This post contains affiliate links, please read our disclosure and personal privacy policy if you have any questions.